
Under cabinet lighting transforms a kitchen from purely functional to genuinely pleasant to work in. Whether someone’s prepping dinner at 6 p.m. or grabbing a midnight snack, proper task lighting eliminates shadows and makes countertops safer and easier to use. Home Depot stocks several under cabinet lighting options that fit different budgets, skill levels, and kitchen styles. This guide breaks down the available choices, installation reality, and what actually works when the sawdust settles. Homeowners don’t need an electrician for most of these projects, just the right approach and a bit of patience.
Key Takeaways
- Home Depot under cabinet lighting eliminates shadows on work surfaces, improving safety and reducing eye strain while cutting vegetables or reading recipes.
- LED strip lights offer the easiest installation for renters and DIYers, requiring only adhesive backing or clips and taking 15 minutes to install with no electrical work needed.
- Aim for at least 300 lumens per linear foot to effectively eliminate shadows, and choose warm white (2700K–3000K) for traditional kitchens or cool white (4000K–5000K) for modern spaces.
- Puck lights and hardwired recessed options provide alternatives: battery-operated puck lights cost $10–30 but require regular battery replacement, while hardwired fixtures demand electrical knowledge and may need permits.
- Proper surface preparation with degreaser and positioning lights in the front third of cabinet depth, spaced 12–18 inches apart, determines installation success and professional appearance.
- Under cabinet lighting projects cost $50–300 depending on type and coverage, take a weekend or less to complete, and deliver immediate improvements in kitchen functionality and visual appeal.
Why Under Cabinet Lighting Matters for Your Kitchen
Task lighting under cabinets solves a real problem: overhead lights cast shadows exactly where hands work. When someone cuts vegetables or reads a recipe, they’re literally standing between the ceiling light and the counter. The result? Squinting, eye strain, and occasional knife slips. Under cabinet lighting sits closer to the work surface, eliminating those shadows and creating a safer, more functional kitchen.
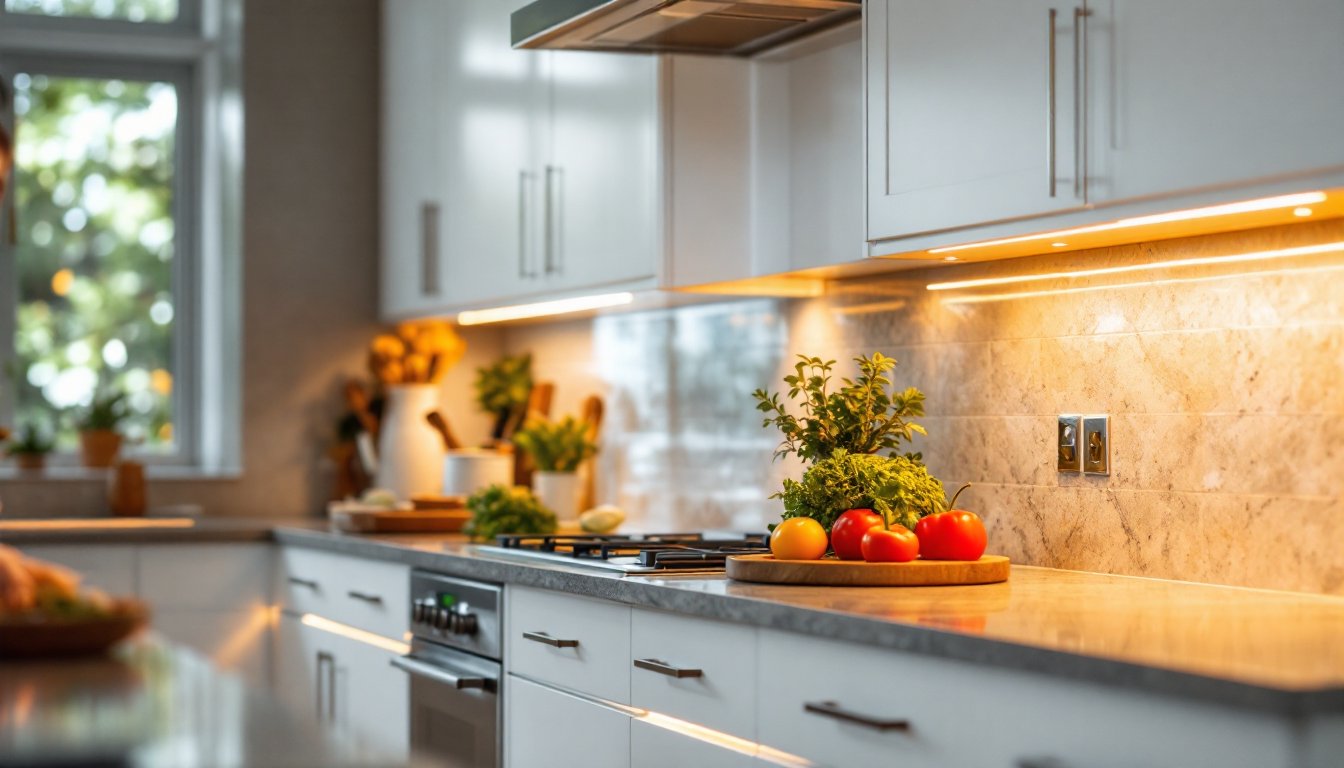
Beyond safety, under cabinet lights add visual depth. They highlight backsplash materials, granite or quartz countertops, and kitchen hardware that often goes unnoticed during the day. Evening visibility improves dramatically, no more fumbling for a glass in a dimly lit cabinet. For kitchens with limited natural light or early risers working before sunrise, this makes a tangible difference.
The install difficulty varies wildly depending on the product type. A magnetic LED strip light can go up in 15 minutes: hardwired recessed lights demand circuit planning and potentially a permit. Home Depot’s range means anyone can find an option matching their comfort level and electrical knowledge.
Types of Under Cabinet Lighting Available at Home Depot
Home Depot stocks three main categories of under cabinet lighting: plug-in LED strips, battery-operated puck lights, and hardwired recessed fixtures. Each has trade-offs in brightness, permanence, and upfront labor. Understanding the differences prevents costly mistakes and buyer’s remorse.
LED Strip Lights
LED strip lights are the go-to for renters and homeowners avoiding electrical work. They’re flexible, affordable, and mount with adhesive backing or clips. Home Depot carries options in various lengths (typically 3 to 10 feet), color temperatures (warm 2700K to cool 5000K), and brightness levels measured in lumens.
The best strip lights include a power supply unit (PSU) and controller allowing dimming and color adjustments via remote or app. Plug them into an outlet, and they’re live, no wiring required. Installation means cleaning the cabinet underside, peeling adhesive backing, and pressing firmly. Some users prefer clips or under-cabinet mounts for easier removal if moving or upgrading.
Brightness matters: aim for at least 300 lumens per linear foot for meaningful task lighting. Cheaper strips below 200 lumens look nice but won’t eliminate shadows effectively. Check the product spec sheet, “warm white” (2700K–3000K) mimics incandescent bulbs and works well in traditional kitchens, while “cool white” (4000K–5000K) suits modern or industrial spaces.
The downside? Cord management can look messy without planning. Running the cable behind cabinets, along the backsplash, or down a corner to a hidden outlet keeps things tidy. Some LED strips come with adhesive cord clips, use them.
Puck Lights and Hard-Wired Options
Puck lights are small, cylindrical fixtures that mount individually under cabinets, typically 2–3 inches in diameter. Battery-operated models from Home Depot cost $10–30 per light and require no wiring. They’re perfect for renters or temporary setups, though battery replacement gets annoying over time.
Plugged puck lights ($30–80 each) offer consistent brightness without battery concerns. Some models include motion sensors, helpful for pantries or dark corners that rarely see use. Install them with adhesive mounts or clips: alignment matters since shadows are visible if lights point at an angle.
Hardwired recessed under-cabinet lights deliver the most polished look but demand real electrical work. Home Depot stocks integrated LED recessed fixtures rated for under-cabinet mounting, typically 12–18 watts each. Installation involves running power from a nearby circuit, cutting holes in the cabinet bottom, and mounting fixture housings. This requires comfort with electrical wiring or a licensed electrician, don’t skip safety here.
Building codes vary by jurisdiction, but most places require 7-amp circuits for under-cabinet lighting or allow sharing with other loads if within 80% of breaker capacity. Check local code before starting hardwired work: many municipalities require permits for any new circuits or outlets.
Installation Tips and Best Practices
Successful under cabinet lighting comes down to three things: surface prep, positioning, and wiring planning. Skip one, and the job looks half-done or fails entirely.
Surface Preparation is the foundation. Clean the underside of cabinets with a degreaser, grease buildup prevents adhesive strips from sticking and dust diffuses light. Wipe with a lint-free cloth and let dry completely. For adhesive-mounted lights, a rubbing alcohol pass ensures maximum grip. Rough or stained surfaces may need light sanding with 120-grit paper to improve adhesion.
Positioning determines effectiveness. Lights mounted too far back cast shadows on countertops: mounted too far forward, they glare into eyes and look amateurish. Aim for the front third of the cabinet depth, pointing slightly downward onto the work surface. For LED strips, this typically means 6–10 inches from the cabinet front edge. Test placement with a flashlight before committing adhesive.
Spacing matters for even coverage. For puck lights, space them 12–18 inches apart. For strips, a continuous run works better than gaps, though some users split runs for switching options (one strip for general light, another for accent). Home Depot sells connectors and extensions, measure twice before buying.
Power routing turns a clean install into a mess if planned poorly. Identify outlet locations first. If using plugged lights, the nearest outlet becomes a constraint, account for cord length and run cables behind molding or through cabinet frames when possible. For hardwired fixtures, plan the circuit path: will it run through cabinet frames, the wall cavity, or conduit? This planning prevents rework and visible wiring.
Safety First: Wear safety glasses when working overhead, especially cutting cabinet bottoms for recessed lights. Use a stud finder and drywall detector before drilling to avoid hitting hidden pipes or wiring. Ground all electrical work properly: if unsure about wiring, hire a licensed electrician. Moisture risk is low under cabinets, but avoid placing lights directly above sink areas or where water splashing occurs.
Electrical Considerations: For plug-in strips, ensure the outlet is switched via a wall switch or put it on a separate dimmer circuit if desired. For hardwired lights, run wire in 14/2 NM cable (standard for 15-amp circuits) or follow local code. Use a junction box for any connections inside the cabinet. Finish with a wall switch, this is non-negotiable for convenience.
Finishing Touches: Most lights benefit from a diffuser or frosted lens to reduce harsh spotting and glare. Home Depot carries diffuser strips that match most LED options. They cost $10–20 per fixture but transform the look from “temporary setup” to “real installation.”
Conclusion
Under cabinet lighting is one of the highest-return home improvements a DIYer can tackle. It costs $50–300 depending on coverage and type, takes a weekend or less, and pays back immediately in usability. Home Depot’s range ensures there’s an option for every skill level and budget. Start with the type that matches comfort level, LED strips for simplicity, puck lights for flexibility, or hardwired fixtures for permanence, and don’t rush surface prep. When done right, under cabinet lighting stops being a luxury and becomes the kitchen’s most-used feature.