
Low voltage landscape lighting has become a DIY staple for homeowners looking to brighten patios, pathways, and gardens without the expense and complexity of traditional high-voltage electrical work. But the system only works as well as its weakest connection, and connectors are where most landscape lighting failures start. Whether dealing with corroded terminals, water intrusion, or loose connections, understanding low voltage landscape lighting connectors is essential for a reliable, long-lasting installation. This guide walks through connector types, selection criteria, installation techniques, and troubleshooting so readers can avoid the frustration of flickering lights or dead zones mid-season.
Key Takeaways
- Low voltage landscape lighting connectors are critical components that prevent corrosion, water intrusion, and electrical failures—the most common causes of flickering or dead fixtures.
- Choose sealed, compression, or soldered connectors with IP67+ ratings for buried or wet locations; standard twist connectors suffice only for sheltered, above-ground runs.
- Match connector type to wire gauge (red for 10–12 AWG, blue for 14–16 AWG) and invest $0.50–$2 per connector to avoid cheap hardware that fails within one season.
- Apply dielectric grease and waterproof silicone tape after connecting, and encase ground-level junctions in sealed outdoor boxes to eliminate 90% of moisture-related problems.
- Inspect connectors annually for corrosion, replace damaged caps after 2–3 years of UV exposure, and rotate buried junctions seasonally to prevent water pooling and extend system lifespan.
What Are Low Voltage Landscape Lighting Connectors?
Low voltage landscape lighting connectors are the bridges between power sources, transformers, wiring runs, and individual light fixtures. Most residential landscape systems operate at 12V or 24V, a safe, permit-free standard in most jurisdictions that eliminates the shock risk of line voltage (120V). These connectors are designed to handle outdoor conditions: temperature swings, moisture, UV exposure, and soil contact.
Unlike indoor electrical connectors, landscape connectors must seal against water ingress and corrosion. A loose or corroded connection creates resistance, which generates heat, dims lights, or kills power to downstream fixtures. The connector sits at the boundary between buried cable and exposed wiring, making it one of the most exposed components in the system. That’s why proper type selection and installation matter far more than most DIYers realize.
Understanding Connector Types and Materials
Types of Landscape Lighting Connectors
The most common types are twist connectors (screw-cap designs), push-in connectors (no-twist, quick-splice), and soldered or compression terminals. Twist connectors are popular because they’re inexpensive and forgiving, just strip about 0.5 inches of wire, insert both conductors, and twist the cap clockwise until snug. Push-in connectors are faster and work well for temporary displays, but they’re less reliable outdoors over time and prone to vibration loosening.
Soldered or compression connectors are the premium option: solder creates an airtight seal, while compression crimps squeeze the connector around the wire, eliminating gaps. Both require a bit more skill or specialized tools (soldering iron, crimper) but deliver superior longevity in damp environments.
Materials and Corrosion Resistance
Connector body material matters. Brass or copper terminals resist corrosion better than bare steel, but they cost more. Many affordable connectors use nickel-plated or zinc-plated steel, which is adequate for 2–3 years but can corrode if exposed to saltwater or wet soil repeatedly. For coastal or very wet climates, ceramic or plastic-bodied push-ins with gold-plated contacts offer better weather resistance. The cap or insulation is typically polycarbonate or UV-treated plastic, look for darker colors and thicker walls, as cheap, thin caps crack under sun exposure and water works in through the seams.
Always check the IP rating (Ingress Protection). An IP67 or IP68 rated connector means it can handle temporary or continuous water exposure: IP54 is marginal for direct burial or splashing zones.
Choosing the Right Connector for Your Landscape Setup
Installation Best Practices
The right connector depends on location, wire gauge, and expected lifespan.
Above-ground or sheltered runs (under an eave, along a fence) tolerate standard twist connectors: UV and moisture exposure is minimal. In-ground or high-splash zones (near a water feature, bog-prone soil) demand sealed, compression, or soldered connections in an IP67-rated junction box, don’t rely on a connector cap alone.
Wire gauge also dictates connector choice. Most landscape systems use 10–12 AWG wire for runs under 100 feet: 14–16 AWG for shorter spurs to individual fixtures. The connector’s internal barrel must fit the wire snugly. An oversized connector on thin wire risks poor contact: undersized connectors can’t accommodate the stranded wire properly. Most quality landscape connector sets are color-coded: red for 10–12 AWG, blue for 14–16 AWG.
For permanence, crimp terminals with a weatherproof shrink-tubing heat-shrink outperform cheap twist caps. Plan on spending $0.50–$2 per connector for reliable, outdoor-rated hardware: bargain connectors at $0.10 each typically fail within one season.
Installation steps:
- Turn off power at the transformer.
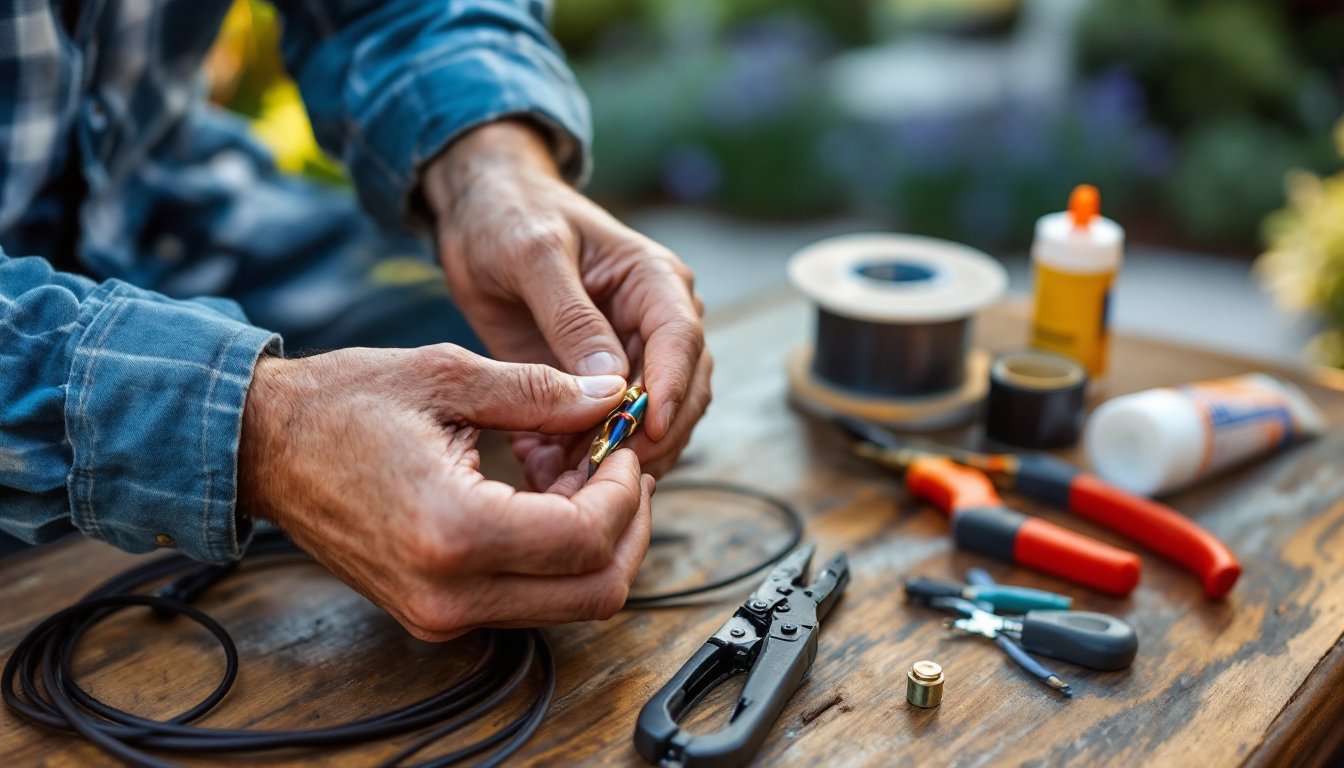
- Strip 0.5 inches of insulation from both wire ends with a wire stripper (avoid nicking the copper).
- For twist connectors, insert both bare ends, and rotate the cap 2–3 full turns clockwise until resistance is felt, then a quarter turn more.
- For crimp connectors, slide the bare wire into the barrel, use a crimping tool to squeeze the barrel onto the wire, then slide heat-shrink tubing over the crimped joint and heat with a heat gun or lighter until it shrinks snug.
- Tug the wire gently to confirm the connection holds.
- Restore power and check continuity with a multimeter if available.
Common Connection Problems and Solutions
Corrosion and green/white oxidation on terminals is the most frequent culprit behind flickering or dead lights. If a fixture dims or flickers mid-season, suspect connector corrosion. Fix it by carefully excavating the junction, unscrewing the connector, cleaning both wire ends with fine sandpaper or a wire brush, and reassembling with fresh connectors. Apply a thin coat of dielectric grease (not petroleum jelly) to the connection after twisting the cap, this water-resistant gel seals out moisture without compromising conductivity.
Loose connections happen because of vibration from foot traffic, freeze-thaw cycles, or insufficient tightening. Always twist connectors until you feel solid resistance, not just hand-tight. If a connection loosens repeatedly, switch to a crimped terminal with heat-shrink, which won’t vibrate loose.
Water intrusion into caps is common if the junction is buried in clay or frequently wet soil. The fix is not to bury the connector: instead, move it above grade into a sealed outdoor junction box (often 4×4 inches, IP67-rated). Cost is around $15–$30, but it eliminates 90% of water-related failures.
Incompatible wire gauges (mismatching 10 AWG wire to a 14 AWG connector slot) create gaps and resistance. Always verify the connector is rated for your wire size. If stuck, move up a connector size or use a dual-entry connector that accommodates a range.
Weatherproofing and Maintenance Tips
Sealing is non-negotiable outdoors. After connecting wires, wrap the connector cap with waterproof silicone tape (Coban or Scotch 88) in a spiral, overlapping each wrap by 50%. This adds a second moisture barrier and extends the connector’s life by several years. For buried or water-prone junctions, encase the connector in a sealed outdoor junction box filled with silicone caulk around the wire entry points.
Seasonal maintenance keeps connections reliable. In spring, before turning on outdoor fixtures, unearth one or two junctions and inspect for corrosion. If you spot white or green oxidation, replace the connector and apply dielectric grease. Every two years, rotate buried connectors to a new location (move the junction box a few feet) to avoid pooling water in the same spot.
UV exposure shortens the life of plastic caps. If a connector cap is cracked, cloudy, or discolored after 2–3 years, replace it, UV damage compounds water intrusion. Store spare connectors in a cool, dry place, and keep dielectric grease on hand. Finally, ensure your transformer is weatherproofed and on a timer so no current flows overnight or during heavy rain, reducing the electrical stress on aging connectors.
Conclusion
Low voltage landscape lighting connectors are often overlooked, but they’re the foundation of a dependable outdoor lighting system. Choosing sealed, correctly-rated connectors, installing them with care, and protecting them from water and UV damage transforms landscape lighting from a seasonal frustration into a reliable feature. Spend a bit more on quality hardware upfront, weatherproof junctions thoughtfully, and refresh connectors every 2–3 years, and homeowners will enjoy flawless outdoor lighting for a decade or more.