
Recessed lighting, those sleek, ceiling-mounted fixtures that sit flush with the drywall, delivers clean lines and even illumination without the visual bulk of pendant lights or chandeliers. Whether someone’s renovating a kitchen, brightening a basement, or adding task lighting to a home office, recessed lights are a reliable choice. But picking the right bulbs and fixtures requires understanding wattage, brightness levels (measured in lumens), color temperature, and whether to go LED or stick with older technology. This guide walks through the essentials so that anyone can make informed decisions before buying or installing.
Key Takeaways
- LED lights for recessed lighting consume 75–80% less energy than incandescent alternatives and last 25,000–50,000 hours, making them the most practical choice for modern homes.
- Focus on lumens, not watts, when selecting recessed lighting brightness: aim for 10–20 lumens per square foot for general ambient lighting and 20–50 lumens per square foot for task areas.
- Choose consistent color temperature throughout your home—2700K for warm, cozy spaces or 3000K–4000K for kitchens and workspaces—to avoid jarring lighting transitions.
- IC-rated (insulation-contact) recessed fixtures are essential for safety if they touch ceiling insulation; improper installation can create fire hazards and void homeowner insurance.
- Match trim size (4-inch or 6-inch) to your room’s purpose and ceiling height, and space fixtures 4–6 feet apart for even coverage while maintaining a cohesive finish throughout.
- When swapping bulbs, verify base type compatibility, stay within the fixture’s maximum wattage limit, and check dimmer switch compatibility to avoid flickering or humming with newer LED technology.
Understanding Recessed Lighting Basics
Recessed lights sit inside the ceiling cavity, with only the trim ring and lens visible from below. This flush design opens up design flexibility, they work in contemporary homes, traditional spaces, and everything in between. Unlike surface-mounted fixtures, recessed units don’t hang down, so they’re ideal for rooms with lower ceilings or tight sightlines.
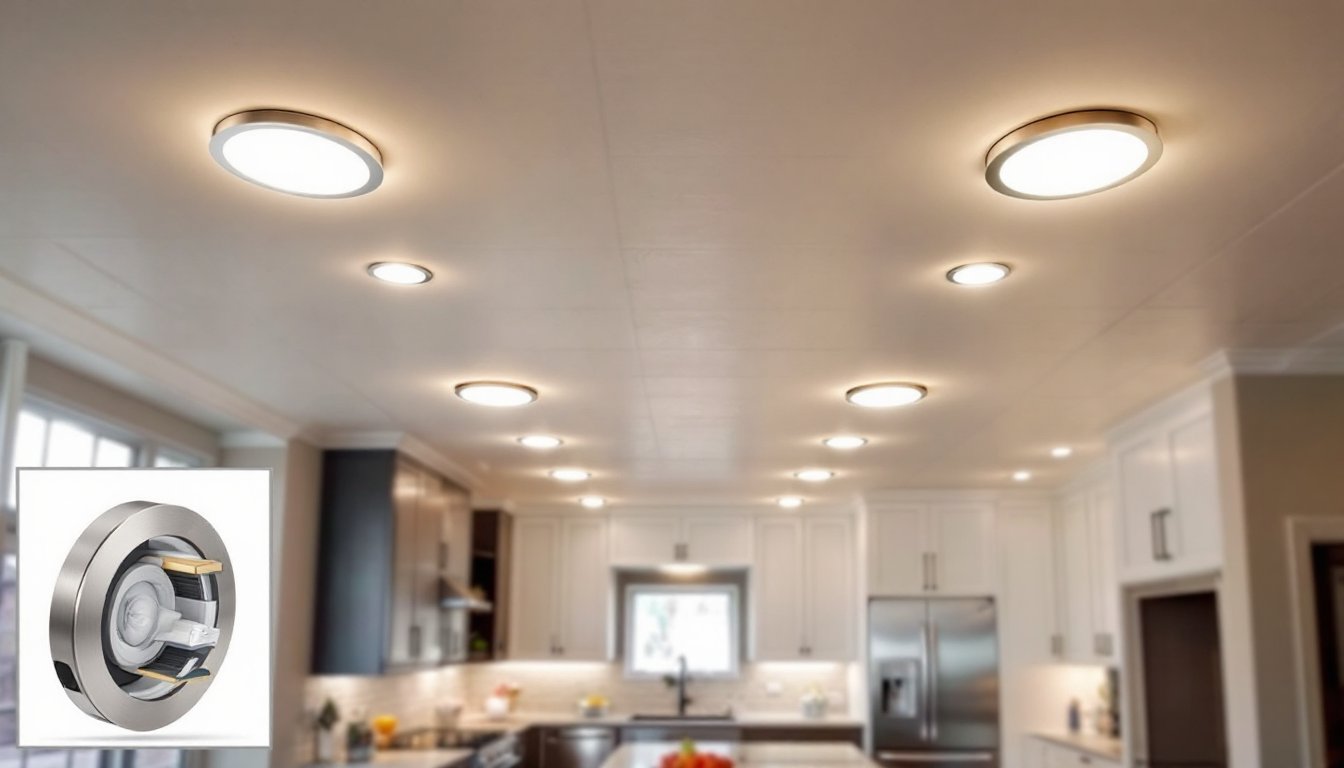
Every recessed fixture has three key parts: the housing (or can), the trim, and the bulb. The housing is mounted inside the ceiling cavity and anchored to framing members. The trim, the visible ring you see from below, comes in dozens of finishes and styles, from brushed nickel to matte black. The bulb is what actually produces light and must match the fixture’s specifications.
When planning a recessed lighting project, the first consideration is trim size. Standard residential trims come in 4-inch and 6-inch diameters: 4-inch fixtures are more common in kitchens and bedrooms, while 6-inch units handle brighter, broader illumination in larger spaces. Recessed lights must be spaced appropriately: typically 4 to 6 feet apart for even coverage, though spacing depends on ceiling height and desired brightness.
Safety matters here. Recessed fixtures generate heat, especially older halogen and incandescent types. Most must be IC-rated (insulation-contact) if they touch insulation in the ceiling cavity: non-IC fixtures require air gaps and can be a fire hazard if improperly installed. Always check local building codes and follow manufacturer instructions.
Types of Recessed Lighting Bulbs and Fixtures
LED Recessed Lights: Energy-Efficient and Long-Lasting
LED recessed bulbs and fixtures dominate the market in 2026 for good reason. They consume 75–80% less energy than incandescent equivalents, last 25,000–50,000 hours (10+ years of typical household use), and produce virtually no heat, so IC-rating and ventilation concerns shrink.
LED recessed fixtures come in two formats: retrofit bulbs (screw-in or plug-in GU10 or MR16 type) that fit older housings, and integrated LED fixtures where the bulb is permanently built into the trim. Retrofit bulbs offer flexibility, you can swap them out if technology improves or a bulb fails, but they’re slightly more expensive upfront. Integrated fixtures are sealed, more compact, and often cheaper initially, but replacement means replacing the entire trim assembly.
One catch with LEDs: color rendering index (CRI), which measures how accurately colors appear under the light. Look for CRI of 90 or higher for kitchen and living spaces. Cheaper LEDs (CRI 70–80) make skin tones and food look slightly off. Also check the dimmability. Not all LEDs work with older dimmer switches: if dimming matters, verify compatibility before buying.
Halogen and Incandescent Options
Halogen and incandescent recessed bulbs still exist but are on their way out in most markets. Halogen produces crisp, bright light and high color rendering but runs hot, typically 500–700 lumens for a 50-watt bulb, and requires IC-rated housings and proper clearance from insulation. Incandescent (standard Edison-base or pin-base types) offers warm, pleasing light and costs almost nothing, but consumes serious wattage and fails every 1,000–2,000 hours.
Unless someone has a reason to stick with existing halogen or incandescent (like a dimmer system that won’t work with LEDs), LED is the practical choice. The energy savings alone pay back the higher upfront cost within a year or two.
Key Specifications and Brightness Levels
When shopping for recessed lights, specifications matter more than wattage. Focus on lumens, the actual amount of visible light produced, not watts, which only measure energy use.
For general ambient lighting, aim for 10–20 lumens per square foot. A 150-square-foot kitchen needs roughly 1,500–3,000 lumens total: split that across 8–10 fixtures, and each should deliver 150–375 lumens. For task lighting over counters or desks, increase that to 20–50 lumens per square foot. A bathroom vanity might need 8–10 lumens per square inch of mirror area.
Standard recessed fixture brightness breaks down roughly like this:
- 4-inch LED retrofit: 300–600 lumens (equivalent to 35–65 watts incandescent)
- 6-inch LED retrofit: 600–1,200 lumens (equivalent to 75–100 watts incandescent)
- Integrated LED 4-inch: 400–700 lumens
- Integrated LED 6-inch: 700–1,400 lumens
Wattage still matters for electrical planning, oversizing the circuit or fixture can lead to overheating or code violations. Most residential recessed housings max out at 100–150 watts: check the fixture label for the maximum lamp wattage.
Brightness also varies by beam angle. A narrow spot produces intense light concentrated downward (useful for accent lighting), while a wide flood spreads light across a broader area (better for general illumination). Choose based on the room’s purpose and the fixture’s location.
Color Temperature and Design Considerations
Color temperature, measured in Kelvins, describes whether light appears warm (yellowy) or cool (blueish). Most residential spaces use one of three standards:
- 2700K (warm white): Mimics incandescent bulbs: feels cozy and welcoming. Common in living rooms, bedrooms, and kitchens where comfort matters.
- 3000K (neutral white): Sits in the middle: not too warm, not too clinical. Works well in kitchens and bathrooms.
- 4000K–5000K (cool/daylight white): Bright and energizing: closer to natural daylight. Better for task-heavy spaces like home offices or garages.
Consistency across the home matters. Switching between 2700K in the bedroom and 5000K in the hallway creates jarring shifts. Pick a standard (2700K or 3000K for most homes) and stick with it throughout.
Design also hinges on trim style and finish. A smooth, baffle trim (dark interior) reduces glare and works in contemporary spaces. A eyeball or gimbal trim tilts and rotates, handy for accent or directional lighting. Finishes include brushed nickel (most common), matte black, white, and specialty options like champagne bronze or polished brass. Choose trim that coordinates with cabinet hardware, doorknobs, and light switch plates for a cohesive look.
Do not mix trim finishes in the same room, it reads as accidental rather than intentional. If someone wants contrast, use a single accent finish sparingly or in a logical zone (e.g., black trims around a kitchen island, nickel elsewhere).
Installation and Maintenance Tips
Installation requires access to the ceiling cavity, good electrical knowledge, and often a permit for new circuits. If the house has existing recessed fixtures and someone is simply swapping bulbs, the job is straightforward. Replacing housings or adding new fixtures demands framing work, running wire, junction boxes, and probably an inspector’s sign-off.
For a bulb swap on an existing fixture:
- Turn off power at the breaker and confirm the light is off.
- Let the bulb cool if it’s been on (halogen especially, wear gloves to avoid skin oils damaging the glass).
- Gently remove the old bulb and note its specifications (wattage, base type, color temp).
- Insert the replacement, matching the exact base type and staying within the wattage limit.
- Test and adjust brightness if the fixture has a dimmer.
For new installation, hire an electrician unless the homeowner has verifiable experience roughing electrical and patching drywall. Codes vary by jurisdiction about spacing from framing, insulation clearance, and wire gauges. An unpermitted job can void homeowner insurance and create fire hazards.
Maintenance is minimal with LEDs. Dust trim rings and lenses every few months, dust buildup reduces brightness. For older halogen fixtures, replace bulbs every 2–3 years. Dimmer switches should be compatible with the bulb type: an LED on a 20-year-old incandescent dimmer may flicker or hum.
If a bulb fails prematurely (within warranty), check the dimmer compatibility and heat conditions. If the fixture runs too hot (trim scorching, bulb failing in weeks), the housing may be undersized, too heavily insulated, or mismatched to the bulb type, stop using it and investigate.